Flooring Accessories Explained: Profiles, Beading, Adhesives & Tools
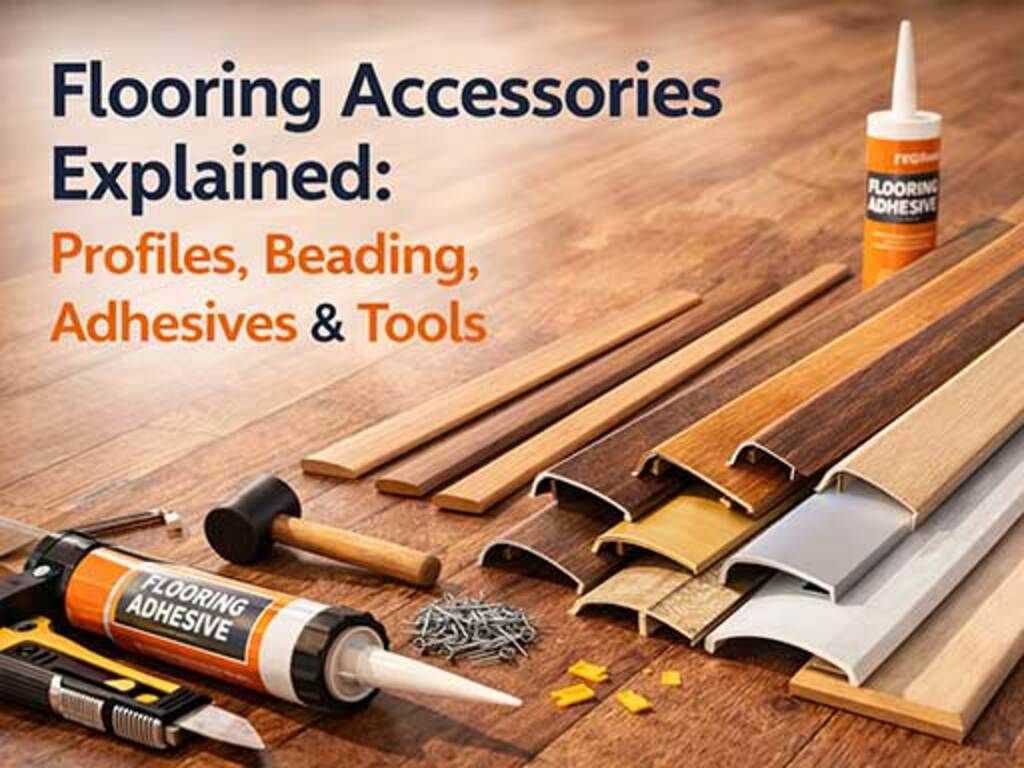 When planning a flooring installation, it is easy to focus entirely on the boards or tiles and overlook everything else required to complete the job properly. Yet flooring accessories UK homeowners need go far beyond the floor itself — the right profiles, beading, underlay, adhesives, and tools are what separate a professional-looking result from one that fails within months. This guide covers every essential accessory category, explaining what each product does, when to use it, and why it matters.
Transition Profiles: Bridging the Gap Between Floors
Transition profiles serve a functional and aesthetic purpose: they cover the expansion gap where your floor meets another surface, protecting the edge of the boards while creating a neat finish. Choosing the wrong profile type is one of the most common DIY mistakes.
- T-profiles (T-bars): Used where two floors of the same height meet in a doorway — for example, laminate in a hallway meeting laminate in a living room. The profile sits centrally over the gap, with each side resting on the adjacent floor. Only suitable when both surfaces are at the same level.
- Reducer profiles: Designed for transitions between two floors of different heights — such as laminate meeting ceramic tile where a height difference exists. The profile tapers from the higher floor down to the lower one, eliminating a trip hazard and providing a smooth visual transition.
- End profiles (end caps): Used where a hard floor terminates against a soft surface such as carpet or existing tiles, or where it meets a fixed threshold like a patio door. The profile simply caps the exposed edge of the board rather than bridging two hard floors.
- Stair nosings: Fitted to the leading edge of each stair tread when laying flooring on stairs. They protect what is the most vulnerable part of any stair installation and improve safety by providing a defined step edge. Stair nosings are available in two main types: flush nosings, which sit level with the installed floor surface, and overlap nosings, which are fitted over the existing tread edge without removing the existing finish. Always check the thickness of your flooring against the nosing specification before purchasing.
Most profiles are supplied with a separate aluminium or steel track that fixes to the subfloor, into which the decorative cover snaps or screws. Always measure your floor thickness accurately before selecting profiles, as the fit depends on compatible depth tolerances.
Beading: Scotia vs Square Edge
Beading covers the expansion gap left around the perimeter of a room between the floor and the skirting board or wall. It is essential for any floating floor installation, where boards must be free to expand and contract with changes in temperature and humidity.
- Scotia beading: A concave, quarter-round moulding that pins or glues to the bottom of the skirting board (never to the floor itself). It follows the contour where wall meets floor and is the most common choice for residential installations. Its curved profile is forgiving on uneven walls and creates a traditional, finished look.
- Square edge beading: A flat-profiled strip that sits flush against the skirting and the floor surface. It offers a more contemporary, minimalist appearance and works well with modern interiors. However, it is less forgiving where the wall or floor is not perfectly flat, as any irregularity will be visible.
Both types are typically available in wood, MDF, or PVC, and in a range of finishes to match popular flooring colours. Always fix beading to the skirting or wall — never to the floor — to allow the floor to move freely underneath.
Underlay: Choosing the Right Type
Underlay is not optional. It cushions the floor, reduces impact noise, compensates for minor subfloor imperfections, and in some cases provides a vapour barrier. The correct type depends on your subfloor and the flooring being installed.
- Foam underlay: The most widely used and cost-effective option. Suitable for most laminate and engineered wood installations on timber subfloors. Provides basic cushioning and sound reduction but has limited moisture resistance.
- Fibreboard underlay: A denser, more rigid option that helps level minor subfloor irregularities. Good for older timber subfloors with slight undulation. Less effective for sound reduction than rubber.
- Rubber underlay: The premium choice for sound reduction. Rubber absorbs both impact noise (footfall) and airborne sound more effectively than foam or fibreboard. Particularly recommended for flats and upper-floor rooms where noise transmission to the floor below is a concern. It is also highly durable and resistant to compression over time.
- Combination underlay with DPM (Damp Proof Membrane): A foam or rubber underlay with an integrated polythene DPM layer on one side. Essential when laying over a concrete subfloor, which can transmit ground moisture upward. The DPM prevents moisture reaching the floor and causing boards to swell or warp. If your underlay does not include a built-in DPM and you are laying on concrete, you must lay a separate polythene membrane (minimum 250 microns) first.
Check the manufacturer's instructions for your flooring — some products specify a maximum underlay thickness, and exceeding this can affect the locking system or void the warranty.
Adhesives: When and Which to Use
Floating floors need no adhesive at all. However, glue-down installations and solid wood floors fixed directly to a subfloor require the correct adhesive to ensure a lasting bond.
- Wood-to-wood adhesive: Used when bonding engineered or solid boards to a timber subfloor. Typically a solvent-free PVA-based or polyurethane adhesive. Provides a firm, permanent bond and tolerates minor movement from the timber.
- Wood-to-concrete adhesive: A polyurethane or MS polymer adhesive formulated to bond wood to concrete or sand-cement screeds. These adhesives remain slightly flexible once cured, which is critical — wood naturally expands and contracts, and a rigid adhesive would cause the bond to fail or the boards to crack.
- Flexible adhesive: Used for natural stone, porcelain, and ceramic tiles, as well as for bonding flooring in areas subject to underfloor heating. Standard tile adhesives become brittle over time; flexible adhesives accommodate the slight movement generated by thermal cycling, preventing tiles from cracking or lifting.
Always prepare the subfloor before applying any adhesive — it must be clean, dry, and structurally sound. Check the moisture content of a concrete subfloor with a moisture meter before proceeding.
Essential Installation Tools
Even if you are hiring a professional fitter, understanding the tools involved helps you ask the right questions and buy sensibly. If you are fitting the floor yourself, these are the items you cannot do without.
- Pull bar: A hooked metal bar that allows you to engage and tighten the locking joint on the last row of boards against the wall, where a tapping block cannot reach. Essential for any click-lock floor installation.
- Tapping block: Used with a mallet to tap boards together without damaging the tongue or click profile. Never use a hammer directly on a board edge.
- Spacers: Small plastic wedges placed between the board and the wall to maintain a consistent expansion gap, typically 8–10mm. Remove them after installation before fitting beading or skirting.
- Moisture meter: A handheld device that measures the moisture content of both the subfloor and the flooring material. Concrete subfloors should read below 75% relative humidity (or as specified by the manufacturer), and timber subfloors below 12%. Skipping this step is a leading cause of floor failure.
- Mitre saw vs jigsaw: A mitre saw (also known as a chop saw) gives fast, accurate straight and angled crosscuts — ideal for cutting boards to length. A jigsaw is essential for cutting around pipes, door architraves, radiator collars, and other obstacles where a curved or irregular cut is needed. For most installations, you will need both.
Key Takeaways
- Match the profile to the situation: T-profiles for same-height transitions, reducers for different heights, end profiles for carpet or tile junctions, and stair nosings for stair treads — using the wrong type will create trip hazards or fail to protect the floor edge.
- Never skip underlay or DPM on concrete: The correct underlay protects your floor from moisture, reduces noise, and extends the life of the installation — combination underlays with integrated DPM are the most practical solution for concrete subfloors.
- Use the right adhesive for the substrate: Flexible, polyurethane, or MS polymer adhesives are essential for bonding wood to concrete or for use with underfloor heating — rigid adhesives will fail as the floor moves.
- Measure moisture before you start: A moisture meter is one of the most cost-effective tools available and can prevent expensive floor failures — always check both the subfloor and the flooring itself before installation begins, and ensure all flooring accessories UK regulations and manufacturer guidelines are met throughout the process.