How to Measure a Room for Flooring
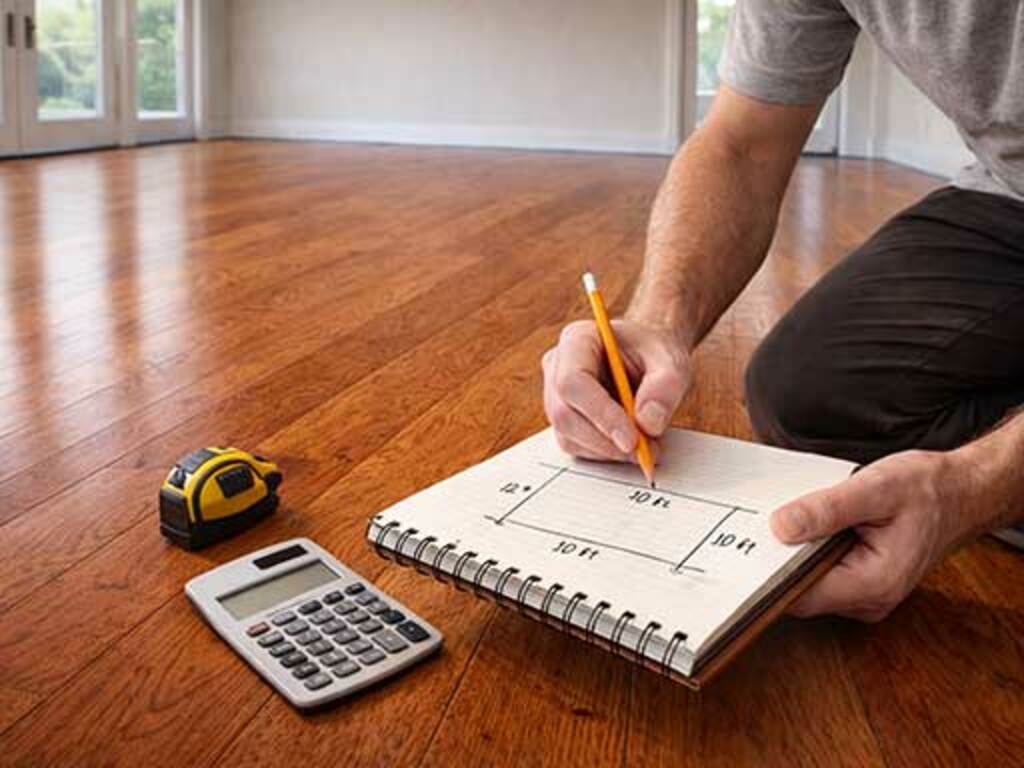 Getting accurate measurements before ordering new flooring is essential for avoiding costly mistakes and waste. Whether you're installing laminate, vinyl, solid wood or carpet, knowing how to measure a room for flooring ensures you purchase the correct amount of material and achieve a professional finish. This comprehensive guide walks you through each stage of the measuring process, using standard methods and tools.
Why Accurate Room Measurements Matter
Ordering flooring without precise measurements leads to significant problems. You might purchase too little material and face delays waiting for replacements that won't match the original batch. Alternatively, buying excess flooring wastes money and creates storage challenges. Accurate measurements also help installers plan seam placement and pattern matching, particularly important for wood-look vinyl and laminate. Professional flooring fitters always remeasure on-site, but providing correct initial dimensions streamlines the entire process.
Essential Tools for Measuring
Before beginning, gather the following equipment to ensure precision:
- Measuring tape: A 5-8 metre retractable metal tape measure provides better accuracy than cloth versions, which can stretch over time
- Notebook and pen: Record measurements immediately to avoid memory errors
- Squared paper: Create a rough floor plan sketch showing room dimensions
- Laser measure: Optional but invaluable for larger rooms, providing digital accuracy to the millimetre
- Spirit level: Identifies sloping floors that might affect installation
- Photographer or phone: Take pictures of existing flooring conditions and room layout
Step-by-Step Measuring Process
Step 1: Clear the Room Completely
Remove all furniture, rugs, curtains and fixtures from the space. Clearing the room provides unobstructed access to skirting boards and corners where measurements begin. Even small items like chair legs can interfere with tape placement and throw measurements off by several centimetres. If the room contains fitted wardrobes or permanent fixtures, measure around these separately rather than attempting to remove them.
Step 2: Measure Length and Width
Start by measuring the room's length and width at the longest points. Stretch your measuring tape from one corner to the opposite corner, keeping it taut and parallel to the skirting board. Record the measurement in metres and centimetres. Repeat this process along two perpendicular walls. Most rooms aren't perfectly rectangular, so take measurements at three points along each wall—near the top, middle and bottom—then note the longest distance. This accounts for walls that aren't perfectly straight, a common feature in older British properties.
Step 3: Account for Alcoves and Recesses
Many rooms feature alcoves, fireplaces, bay windows or under-stair spaces. Measure each separately as distinct sections. For an alcove, record the width (distance from the main wall to the back) and depth (distance along the main wall). Create a sketch showing these features, labelling each measurement clearly. This ensures your flooring supplier understands the room's actual shape rather than assuming a simple rectangle.
Step 4: Check for Doorways and Thresholds
Measure the exact position of doorways from the nearest corner, recording both distance and width. Note the direction doors swing, as this affects how the flooring meets door frames. Identify whether doorways connect to hallways where the flooring will continue, as this impacts ordering decisions. Existing thresholds, steps or level changes should be photographed and measured, as new flooring must meet these transitions smoothly.
Step 5: Identify Obstacles and Fixtures
Measure around permanent fixtures like kitchen islands, fitted units, radiators or bathroom suites. Record the distance from fixtures to the nearest wall, plus the fixture's dimensions. If removing flooring from around these items presents challenges during installation, inform your flooring supplier so they can advise on the best approach.
Step 6: Calculate Total Square Metres
Multiply length by width to find the basic area. Add separate measurements for alcoves and irregular spaces. For example, a 4m × 3m room equals 12 square metres, plus a 1m × 0.5m alcove, adding 0.5 square metres, totalling 12.5 square metres. Round up to the nearest square metre when ordering, as flooring comes in fixed packages and installers require buffer stock for cuts and unavoidable waste.
Common Measuring Mistakes to Avoid
- Measuring from the wall surface instead of skirting: Always measure from the base of the skirting board, as this is where flooring truly begins
- Forgetting about skirting board removal: Ask whether existing skirting boards will be removed or retained, as this affects measurement accuracy and final appearance
- Neglecting to account for door swing: Flooring must not prevent doors from opening fully, so measure doorway positions carefully
- Using a cloth measuring tape: These stretch and provide inaccurate readings, especially over longer distances
- Measuring only once: Always take multiple measurements at different points along each wall, noting the longest distance
- Ignoring level changes: Sloping floors, steps or transitions between rooms affect flooring installation and product requirements
- Failing to sketch the layout: A rough floor plan prevents confusion and helps installers visualise the space
Additional Considerations for Different Flooring Types
Timber and Laminate Flooring
For wood and laminate floors, add 10% to your total square metre calculation to account for cutting, pattern matching and waste. Planks run in specific directions, and installers typically arrange them lengthwise along the longest wall. Request your supplier's recommendations for waste allowance based on your room's specific dimensions and layout.
Vinyl and LVT Flooring
Luxury vinyl tile and sheet vinyl require only 5% waste allowance, typically, as manufacturers design these for efficient installation. However, if your room contains numerous alcoves or irregular shapes, increase this to 10%.
Carpet and Underlay
Carpet requires precise measurements as it's cut to fit room dimensions exactly. Always measure doorways and threshold heights, as these affect how carpet edges finish. Order the underlay in the same quantity as the carpet.
What to Include When Requesting Quotes
Provide flooring suppliers with comprehensive information: the room's precise measurements in metres, a sketch showing alcoves and permanent fixtures, photographs of existing flooring and condition, details of doorways and level changes, and your preferred flooring type. Specify whether you want the supplier to arrange installation, as this may affect how measurements are taken. Many flooring companies offer free site visits where their surveyors remeasure professionally, providing accurate quotes and identifying potential installation challenges.
Mastering how to measure a room for flooring transforms a potentially confusing task into a straightforward process. Accurate measurements prevent expensive errors, ensure seamless installation and help you select the right quantity of materials. Whether managing a small bedroom or a large open-plan living area, following these systematic steps guarantees you provide flooring professionals with the reliable information they need to complete your project successfully.